
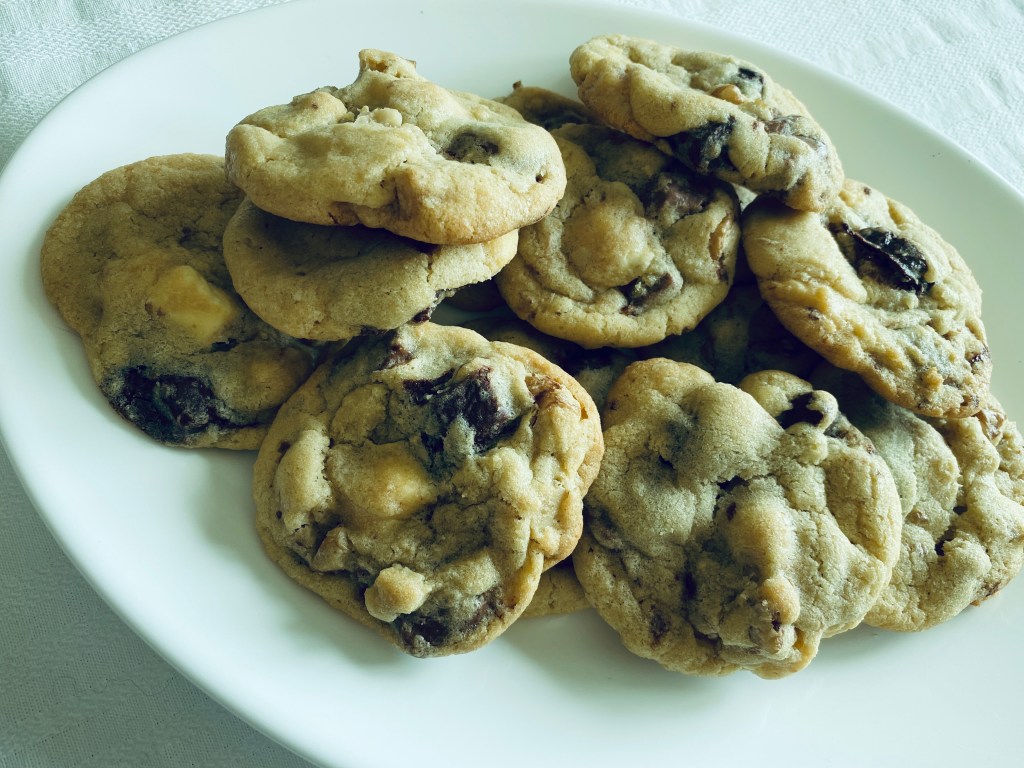
This is my ultimate bake. Simple, satisfying and has at times functioned in place of an emotional support animal. Get right down to the recipe below + a mobile friendly version, and keep scrolling for tips and more.
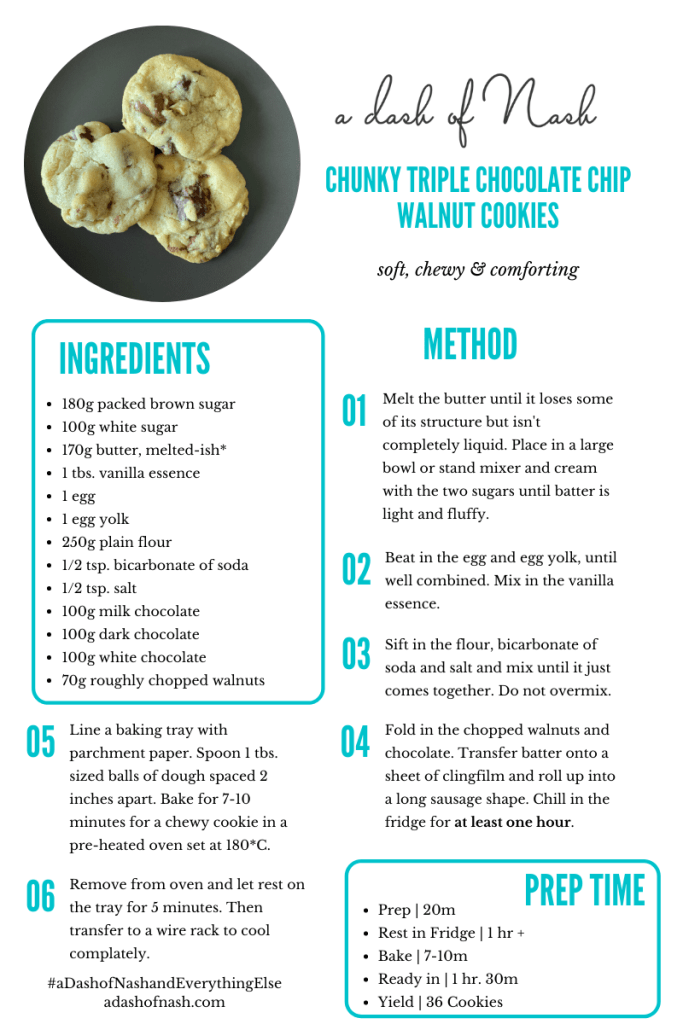
All you really need to know is that my love for the humble chocolate chip cookie is a borderline obsession. If that’s enough to convince you to make this recipe – here you go:
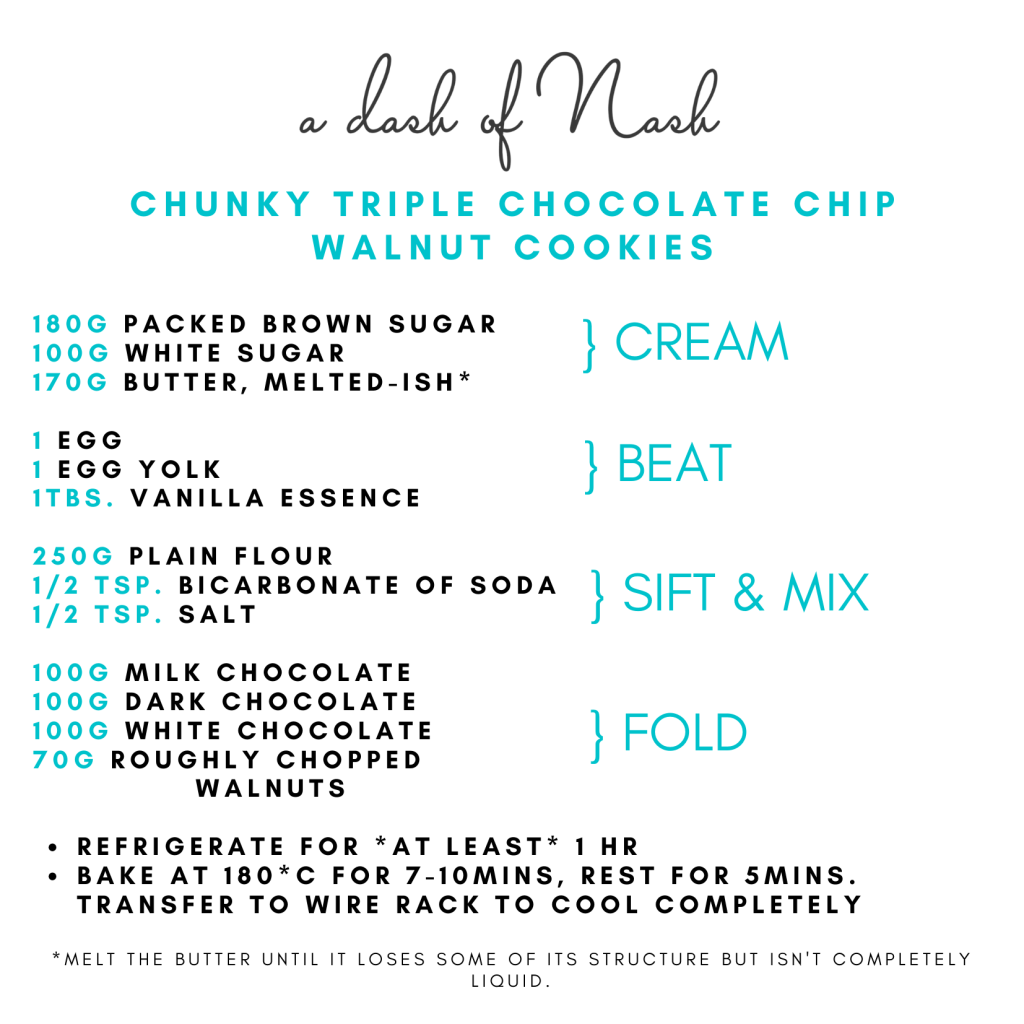
…..Or save this quick reference image on your phone.
This recipe began its life fifteen years ago (!) as the Best, Big, Fat Chewy Chocolate Chip Cookie recipe on allrecipies.com. I’ve spent the last decade and a half tweaking it to taste. A note on some of the ingredients:
CHEWINESS There are several components to this recipe to maximise on chewiness. Using two kinds of sugar, an additional egg yolk and softer butter all help with this. Using white sugar as well as brown sugar keeps it crispy on the outside, chewy on the inside. Win/Win.
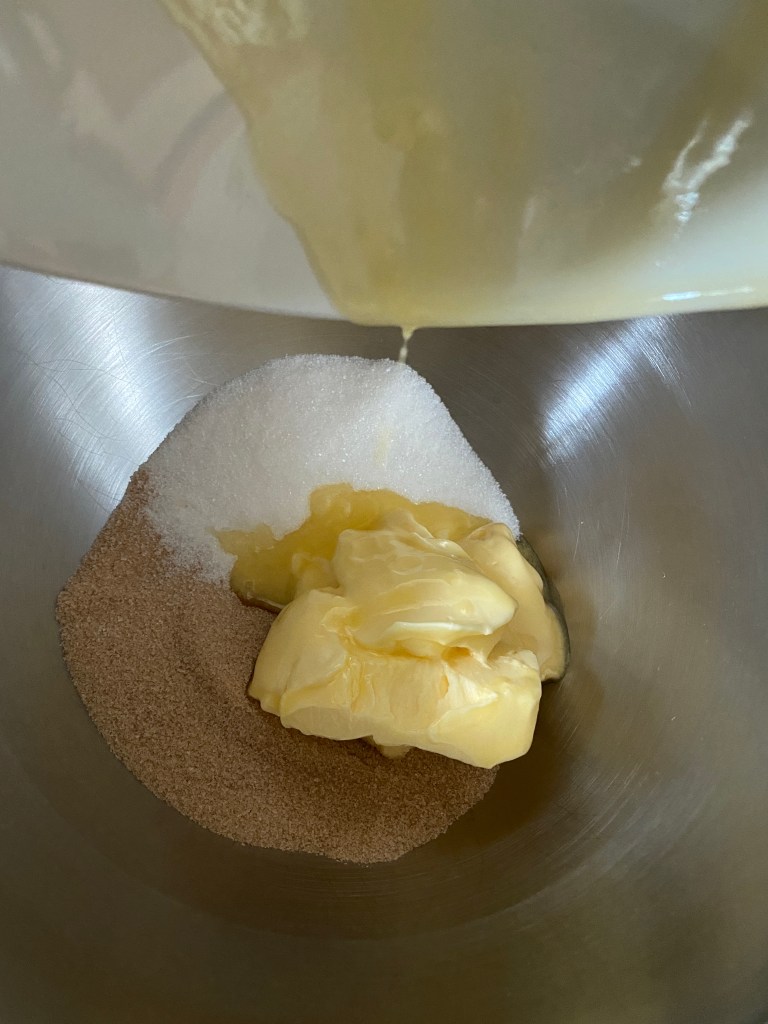
BUTTER You may notice that I’ve specified a weird half-melted state for the butter. This is because I live in the tropics and melting the butter completely leads to a greasier cookie and doesn’t hold shape as well as I’d like, even after refrigeration. I have a 700watt microwave, so a quick 15-20 second blast helps achieve the below. It’s definitely liquid in places, but has a thicker consistency than completely melted butter.
SUGARS Any packed (fine-grain) brown sugar works. I’ve used Light Brown, Dark Brown or Muscovado with success. The darker the sugar the deeper the flavour, so if you don’t want a deep molasses after-tase, opt for a lighter brown sugar.
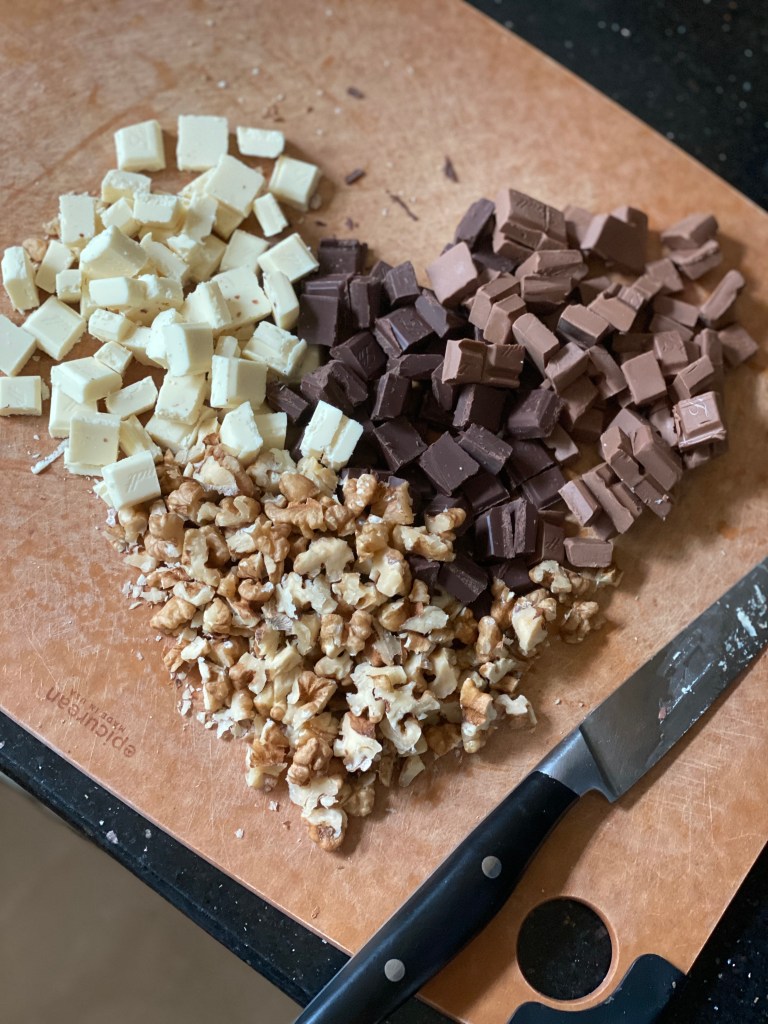
CHOCOLATE I’m not a fan of ready-made chocolate chips as they vary greatly in flavour and quality. Chocolate is the star of this cookie so you want to use something that will help it shine. My go-to is Lindt 100g bars of milk, dark and white.
REFRIGERATION Do not skip this step! Once you’ve beaten the everlasting life out of your softened butter, you’ve got to help it solidify in order to hold all the ingredients together when it goes into a hot oven. Don’t risk a goopy sad cookie after all that effort. Refrigerating cookie dough helps control spread. Keeping it in the fridge for at least an hour ensures that you won’t end up with a thin, inconsistent batch. This is especially true for this recipe as it calls for the butter to have such a soft consistency. I also keep my ‘dough snake’ it in the fridge between batches for consistency.
I’ve even made the batter a day or two in advance and baked cookies fresh as needed! (But I stopped doing this because we quickly found out that ‘as needed’ was all the time in this household…)
VANILLA is also sort of optional. I cannot believe I’m saying this, because I put vanilla essence in every bake, whether or not it’s called for, but a recent shortage at the shops has led to this discovery. I still recommend it because of the nostalgic pull of the scent and flavour but yes – not actually essential for this recipe if you’ve run out!
WALNUTS are optional, but texturally required in my opinion to add some crunch to an otherwise heavenly-soft cookie. You could also try any other kind of nut, or oats.
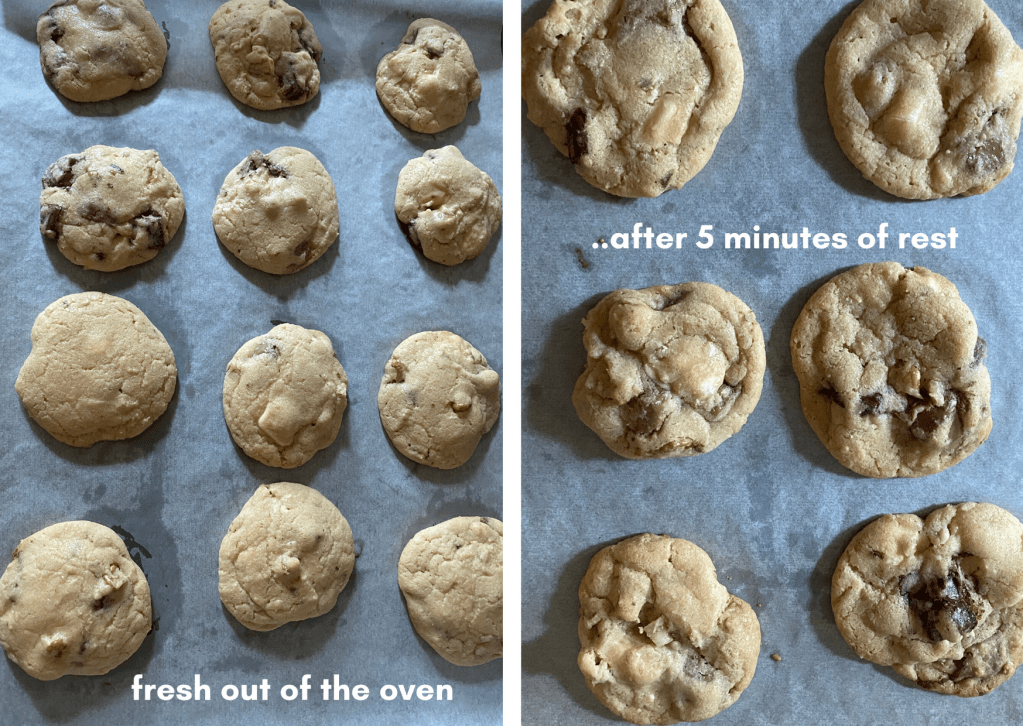
BAKE TIME varies based on your oven, cookie size and chewiness preference. A longer bake yields a crispier cookie. Play around and see what works for you. For my oven, 9-10 minutes is the sweet spot. For years, I used a smaller table-top oven, with an optimal bake time of 7 minutes. I know the cookies are done when they look like they are about to get crisp edges. They don’t look wet, but are still a little puffy.
When they first come out of the oven they will be pale and fragile so it’s important to leave it untouched on the tray to harden before transferring to a wire rack.
This cookie is a family staple and has doled out the yum for friends, family and neighbours over the years. If you make it, I’d love to know how it turned out for you.
